Setting up EV Charging in the Garage
As the proud owner of a new F-150 Lightning, it was time to figure out how to get this thing charged. I don’t have the space in my panel to add a new circuit, so I needed to get creative.
I do have a 240v dryer outlet in the garage that we use for the dryer. It was just on the opposite end of the garage. So it’s time for the biggest extension cord I’ve ever used. Seriously, this thing is nearly an inch in diameter and weighs like 30 pounds. With something like this, it’s safer to have a bit of extra copper and underrate things. It’s a 50’ cable rated for 50 amps of 240v and its intended for use to connect an RV to shore power.
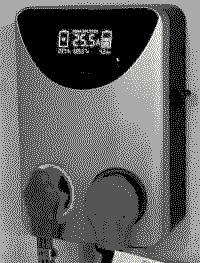
Since I only have the one outlet, I added a splitter that monitors the power usage of each outlet, only allowing one to have high current at a time. This way I can leave the cable plugged in and use the dryer as needed, without constantly plugging and unplugging the dryer or charger. My understanding is that NEMA 14-30 outlets aren’t designed for lots of interactivity, they can wear out and cause a hazard. Besides, it’s more convenient and safer to leave these plugged in and switch them electronically.
Leaving this monster of a cable along the floor isn’t exactly ideal so I designed and 3D printed I’m using PETG because it prints well and has better mechanical properties for this sort of thing. some custom cable hooks to keep it off the ground. Why go custom? Partly because I can but also because the cable itself is expensive and if/when I travel to visit friends with my EV, I want to be able to bring this cable along.
That’s why I designed the hooks to gently allow the cable to snap in and allow it to be easily removed and reinstalled. I also included a pass-through for some one-wrap strapping that can be optionally installed for when the cable needs take a corner or go over/around something that could put some extra stress on the hooks.
Not only does the strap pass-through make it easier to use the straps, it also gives a bit more strength to the hook, since it ends up adding walls in the core of the hook itself.
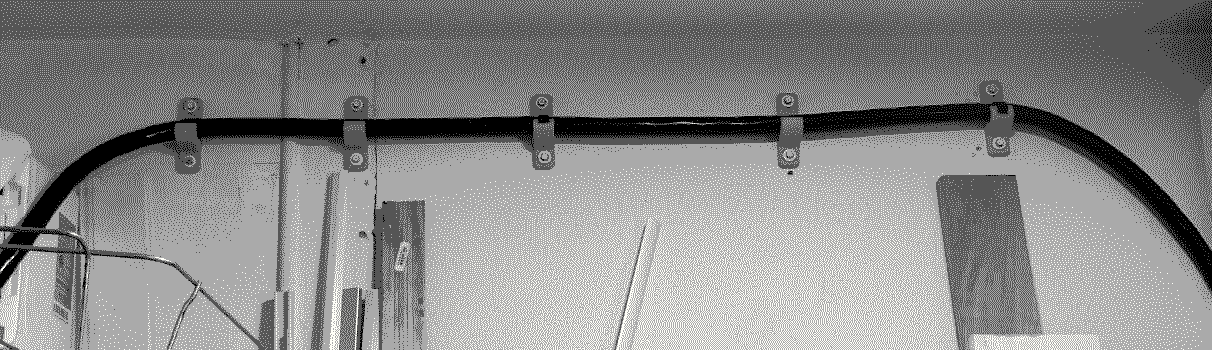
Most of the places I am installing the hooks are along the outer wall so they each use a pair of tapcons directly into the concrete. The screws are far stronger than needed, but it’s easier than dealing with those plastic inserts. I trust these screws with just about everything I install on concrete. I even found flanged ones so that I don’t need to use washers either.
I still have another ~30 feet worth of hooks to install I’m placing them every 8-10 inches or so. Approaching corners or obstacles they get a little closer. Mostly I just don’t want the cable to sag. – they’re all printed out and ready to go, I just need to find the time to install them. I’ve been doing a few hooks a day as time allows. I’ve also printed out a neat holder for the J1772 plug itself, so that it can be easily stored along with its cable when not in use.